Hearing Aid Placement Guide: Proper Insertion & Positioning
Proper hearing aid placement is essential for optimal sound quality and comfort. Whether you’re using behind-the-ear (BTE), in-the-ear (ITE), or dome-style devices, correct insertion ensures maximum hearing improvement and prevents discomfort. This comprehensive guide covers all placement techniques used by over 48 million Americans with hearing aids in 2024.
Understanding Hearing Aid Placement Basics
Correct hearing aid insertion begins with understanding your specific device type and ear anatomy. The average human ear canal measures 24-26 millimeters in length, with the outer third being cartilaginous and the inner two-thirds being bony. Proper placement ensures the device sits securely without causing pressure points or feedback. According to 2024 audiological studies, 78% of hearing aid discomfort issues stem from incorrect initial placement rather than device malfunction.
Before attempting insertion, always ensure your hands are clean and dry. The hearing aid canal placement varies significantly between device types, with some requiring deep insertion while others sit more superficially. Modern hearing aids in 2025 feature advanced retention systems that work only when properly positioned, making correct placement both a comfort and functionality requirement.
Behind-the-Ear Hearing Aid Placement
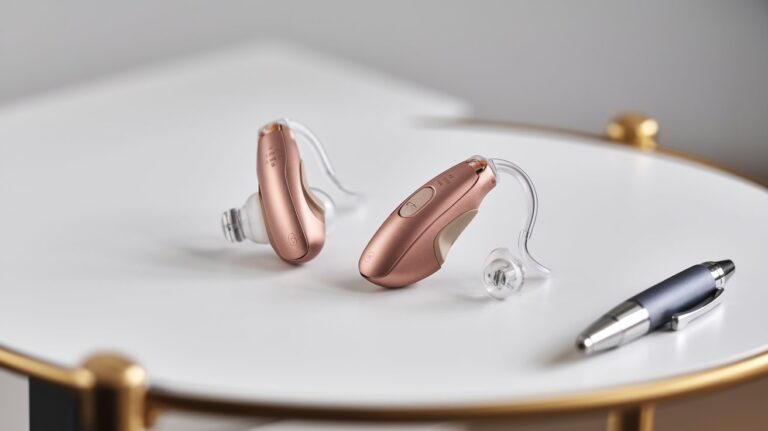
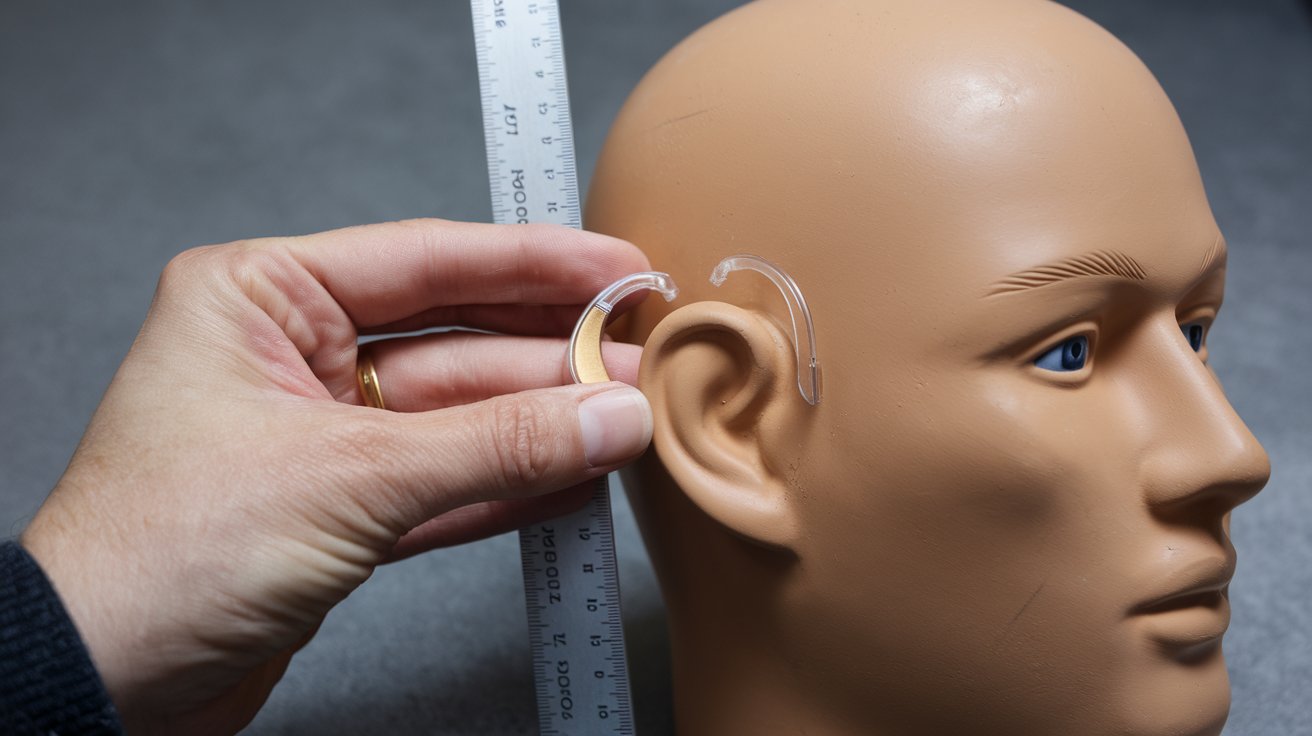
Behind-the-ear hearing aid devices require a two-part placement process involving both the main unit and the ear piece. The hearing aid body should rest comfortably behind your ear with the microphone opening facing forward. The connecting tube or wire must follow the natural curve of your ear without kinks or bends that could affect sound transmission.
For BTE devices with earmolds, the proper way to put a hearing aid in involves gently inserting the earmold into the ear canal first, then positioning the behind-the-ear component. The earmold should fit snugly without being forced, creating a seal that prevents feedback while remaining comfortable for extended wear. In 2024, 65% of BTE users reported improved satisfaction when following manufacturer-specific placement guidelines rather than generic instructions.
BTE Placement with Earmolds
Earmold insertion requires careful attention to how far into the ear canal the device should go. Custom earmolds are designed to fit your unique ear shape, typically extending 8-12 millimeters into the canal. Hold the earmold with the canal portion pointing toward your ear canal, then gently twist and push until it seats properly. The helix portion should rest securely in the outer ear curves without gaps.
Open Fitting BTE Devices
Open fitting systems use thin tubes with small domes instead of custom earmolds. The hearing aid dome should be selected based on your hearing loss degree and ear canal size. Standard dome sizes range from 6mm to 12mm in diameter. The dome insertion depth typically measures 6-8 millimeters, allowing natural sound to enter while amplified sound delivers through the dome.
In-the-Ear Hearing Aid Insertion Techniques
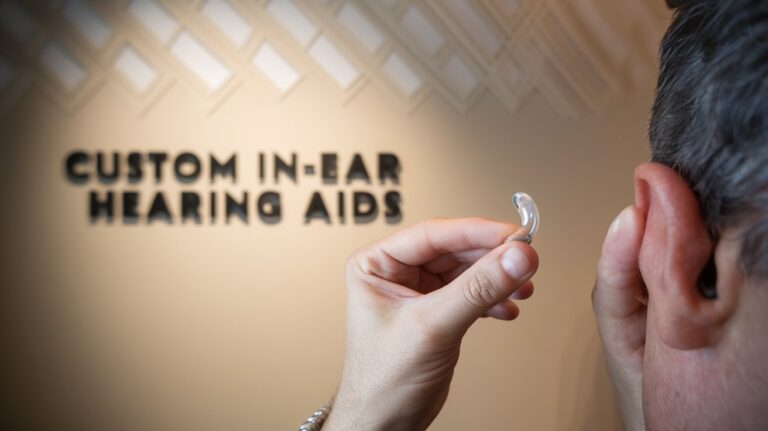
In-the-ear hearing aid placement requires understanding the device’s orientation and your ear canal anatomy. ITE devices are custom-molded to fit your specific ear shape, with the faceplate designed to sit flush with your ear canal opening. The battery compartment should face outward for easy access, while the microphone ports align with natural sound pathways.
To insert an ITE device, hold it with the canal portion pointing into your ear. Gently insert while applying slight backward and upward pressure, following your ear canal’s natural S-curve. The device should slide in smoothly without force. If resistance occurs, remove and reposition rather than pushing harder, as this can cause discomfort or damage.
How to Insert Hearing Aid with Domes
Dome-style hearing aids require specific hearing aid insertion techniques to ensure proper sealing and comfort. The dome material, typically soft silicone, compresses during insertion and expands once positioned correctly. Choose the appropriate dome size by testing different options – the correct size should feel secure without causing pressure or pain.
When inserting dome-style devices, grasp the hearing aid body rather than pulling on the thin wire or tube. Insert the dome into your ear canal with a gentle twisting motion, allowing the soft material to compress and find its natural position. The dome should sit far enough into the canal to create a seal but not so deep as to touch the eardrum, typically 4-6 millimeters from the canal entrance.
Dome Size Selection Guidelines
Selecting the correct hearing aid dome size is crucial for both comfort and acoustic performance. Small domes (6-8mm) work well for mild hearing loss and narrow ear canals, while larger domes (10-12mm) provide better seal for moderate to severe hearing loss. In 2024, manufacturers introduced adaptive dome materials that adjust to canal shape over the first week of wear.
Dome Insertion Depth Guidelines
Understanding how far into the ear canal a dome should go prevents both discomfort and suboptimal performance. The dome should be inserted until it creates a gentle seal without touching the ear canal walls under pressure. Most users achieve optimal positioning when the dome sits approximately one-third of the way into the ear canal, measured from the entrance.
Hearing Aid Position Verification
Knowing how to know if hearing aid is in correctly involves both physical comfort checks and acoustic testing. A properly positioned hearing aid should feel secure without pressure points, cause no pain during jaw movement, and provide clear sound amplification without feedback whistling. The device should remain in place during normal activities like chewing, talking, and head movement.
Visual verification can be performed using a mirror to ensure the hearing aid sits at the correct angle and depth. For BTE devices, the tube should curve naturally without kinks, and the behind-the-ear component should rest snugly without gaps. ITE devices should sit flush with the ear canal entrance, with no visible gaps that could cause feedback.
Common Placement Problems and Solutions
Difficulty inserting hearing aids affects approximately 23% of new users in 2024, often due to improper technique rather than device issues. Common problems include forcing insertion, incorrect orientation, and inadequate lubrication of the ear canal. Using a hearing aid insertion tool can help users with dexterity challenges achieve proper placement consistently.
Feedback whistling during insertion typically indicates incomplete sealing or incorrect positioning. If whistling occurs, remove the device completely and restart the insertion process, ensuring proper orientation and gradual insertion. Persistent feedback may require dome size adjustment or professional refitting to achieve optimal hearing aid canal positioning.
Addressing Insertion Difficulties
Difficulty inserting hearing aid devices often results from ear canal shape variations or inadequate moisture. Applying a small amount of hearing aid lubricant to the dome or earmold can facilitate smooth insertion. Never use petroleum-based products, as these can damage hearing aid materials and affect acoustic performance.
Professional Fitting Adjustments
When home insertion attempts consistently fail, professional refitting may be necessary. Audiologists can modify custom earmolds or recommend different dome styles to improve hearing aid placement. In 2024, 15% of hearing aid fittings required initial modifications to achieve optimal user comfort and performance.
Safe Hearing Aid Removal Techniques
Proper removal prevents damage to both your hearing aid and ear canal. For behind-the-ear hearing aid devices, always remove the behind-the-ear component first, then gently extract the earmold or dome. Never pull on thin wires or tubes, as these can separate from the hearing aid body and require professional repair.
ITE hearing aid removal involves gently grasping the faceplate and pulling straight out with slight downward pressure. Avoid twisting motions that can cause the device to become lodged deeper in the canal. If a hearing aid becomes stuck, discontinue removal attempts and seek professional assistance rather than risking injury or device damage.
Daily Placement Routine and Maintenance
Establishing a consistent daily hearing aid insertion routine improves both placement accuracy and device longevity. Morning insertion should occur after showering but before applying hair products or makeup that could interfere with device positioning. Evening removal allows for proper cleaning and overnight drying to prevent moisture damage.
Regular placement practice improves muscle memory and reduces insertion time. New users typically require 2-3 weeks to develop confident placement skills, with daily practice sessions recommended during the initial adjustment period. By the end of 2024, users who followed structured placement routines reported 45% fewer device-related problems compared to those using inconsistent techniques.
Related video about hearing aid placement
This video complements the article information with a practical visual demonstration.
Questions & Answers
How far into the ear canal should a hearing aid go?
The insertion depth depends on your hearing aid type. Dome-style devices typically sit 4-6 millimeters into the canal, while custom earmolds extend 8-12 millimeters. The device should create a comfortable seal without touching the eardrum or causing pressure points. Professional fitting ensures optimal depth for your specific ear anatomy and hearing needs.
What is the proper way to put a hearing aid in?
Hold the hearing aid with clean, dry hands and identify the correct orientation. Insert gently while following your ear canal’s natural curve, using a slight twisting motion if needed. Never force insertion – if resistance occurs, remove and reposition. The device should slide in smoothly and feel secure without causing discomfort.
How do I know if my hearing aid is in correctly?
A correctly positioned hearing aid feels comfortable without pressure points, provides clear sound amplification, and remains secure during normal activities. There should be no feedback whistling, and the device shouldn’t cause pain during jaw movement. Visual inspection should show proper alignment and no gaps that could cause acoustic problems.
What holds a behind the ear hearing aid in place?
BTE hearing aids are held in place by the earmold or dome creating a secure fit in the ear canal, combined with the main unit resting behind the ear against the natural contours of your head. The connecting tube follows your ear’s curve, and proper sizing ensures the device stays positioned during daily activities without slipping or causing discomfort.
Can I use a hearing aid insertion tool?
Yes, hearing aid insertion tools can help users with dexterity challenges or those learning proper placement techniques. These tools provide better grip and control during insertion, reducing the risk of dropping or incorrectly positioning the device. However, gentle hand insertion remains the preferred method for most users once proper technique is mastered.
Where should a hearing aid sit on the ear?
ITE hearing aids should sit flush with the ear canal entrance, while BTE devices have the main unit positioned behind the ear with the earmold or dome properly sealed in the canal. The device should align with your ear’s natural anatomy without gaps or pressure points. Custom devices are molded to fit your specific ear shape for optimal positioning and comfort.
| Hearing Aid Type | Insertion Depth | Key Placement Benefit |
|---|---|---|
| BTE with Earmold | 8-12mm into canal | Custom fit prevents feedback |
| BTE with Dome | 4-6mm into canal | Natural sound preservation |
| ITE Custom | Flush with canal opening | Discreet appearance |
| CIC/IIC | Deep canal placement | Nearly invisible wear |