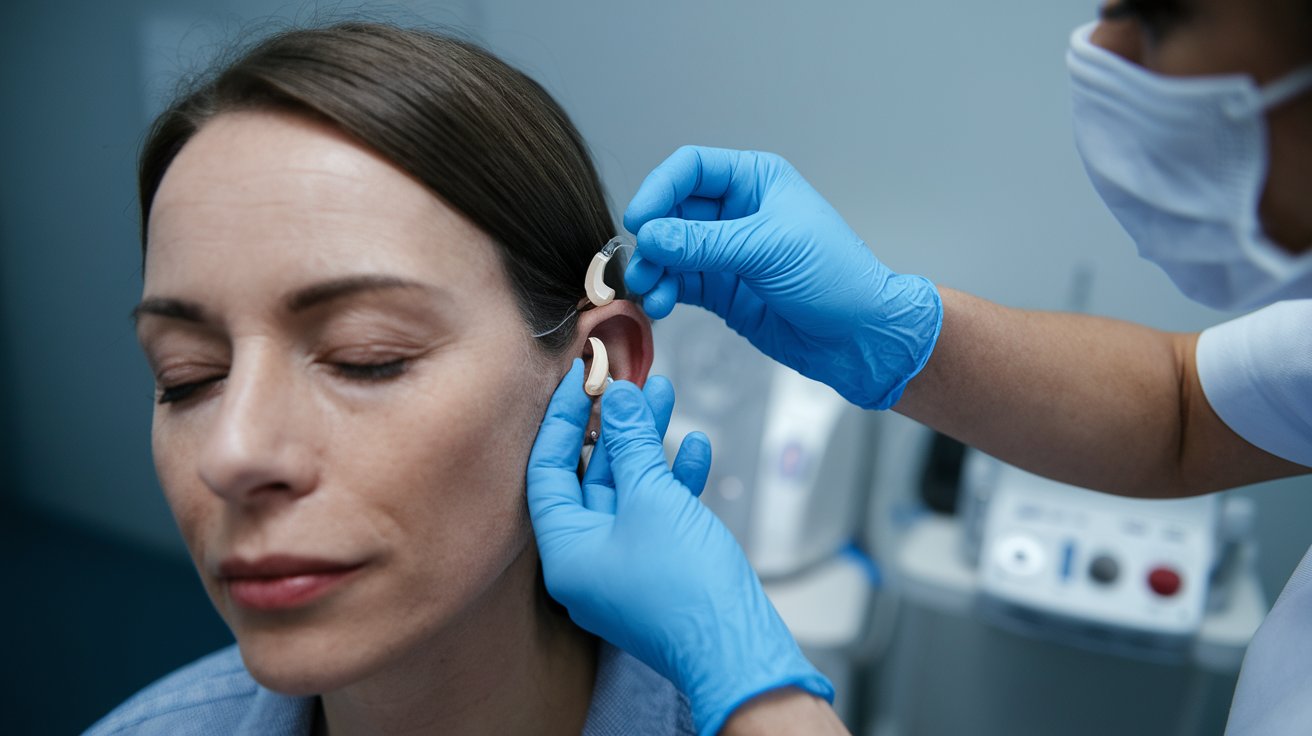
Hearing Aid Insertion Guide: Proper Techniques & Tips 2025
Proper hearing aid insertion is crucial for optimal sound quality, comfort, and device longevity. Whether you have behind-the-ear (BTE), in-the-ear (ITE), or dome-style hearing aids, correct placement techniques ensure maximum benefit from your investment. This comprehensive guide covers professional insertion methods for all hearing aid types used across the United States in 2025.
Before Inserting Your Hearing Aid: Essential Preparation
Before attempting hearing aid insertion, proper preparation ensures successful placement and prevents damage to your device. Clean your hands thoroughly with soap and warm water, then dry completely to avoid introducing bacteria into your ear canal. Check your hearing aid battery level and ensure the device is functioning properly before insertion.
Examine your ear canal for any signs of irritation, wax buildup, or infection. If you notice discharge, pain, or unusual odors, consult your audiologist before proceeding. The American Speech-Language-Hearing Association recommends waiting until any ear infections clear completely before resuming hearing aid use.
How to Insert In-the-Ear Hearing Aids (ITE)
In-the-ear hearing aids require specific insertion techniques for proper placement within your ear canal. These custom-molded devices should fit snugly without causing discomfort or falling out during normal activities.
Step-by-Step ITE Insertion Process
Hold the hearing aid between your thumb and forefinger, grasping the faceplate or removal handle if present. Gently pull your ear up and back with your opposite hand to straighten the ear canal. Insert the hearing aid slowly, rotating it slightly until it sits flush with your ear opening. The device should feel secure but not painful when properly positioned.
Common ITE Insertion Mistakes to Avoid
Avoid forcing the hearing aid into ear canal if you encounter resistance, as this can cause injury or device damage. Never insert the device upside down or backwards, which prevents proper sound delivery and may cause feedback. According to 2024 audiology data, improper ITE insertion accounts for 35% of hearing aid returns in the United States.
Behind-the-Ear Hearing Aid Insertion Guide
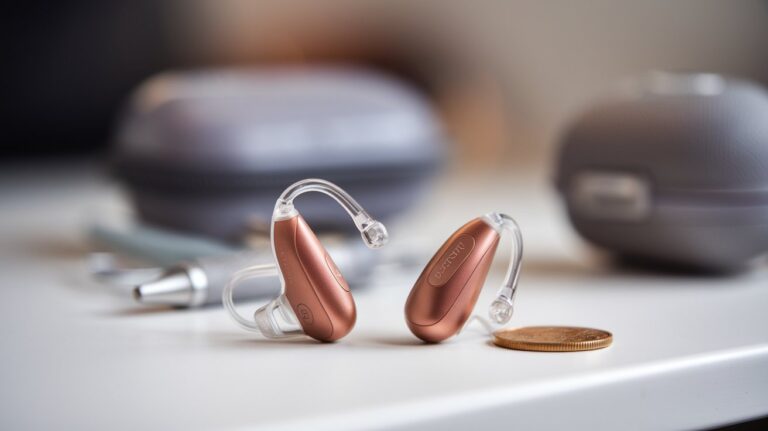
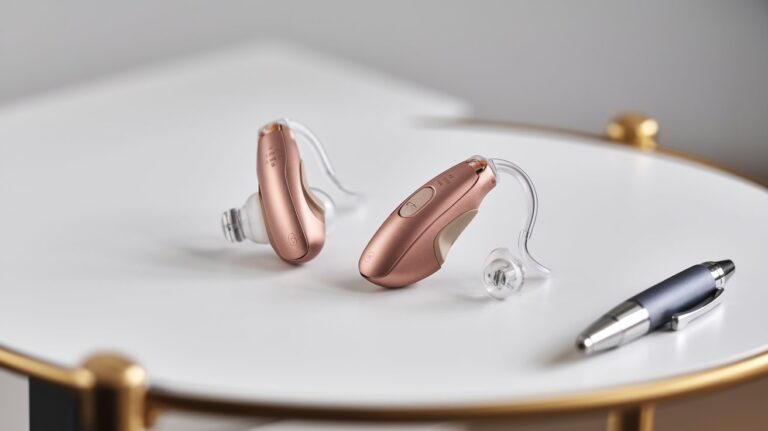
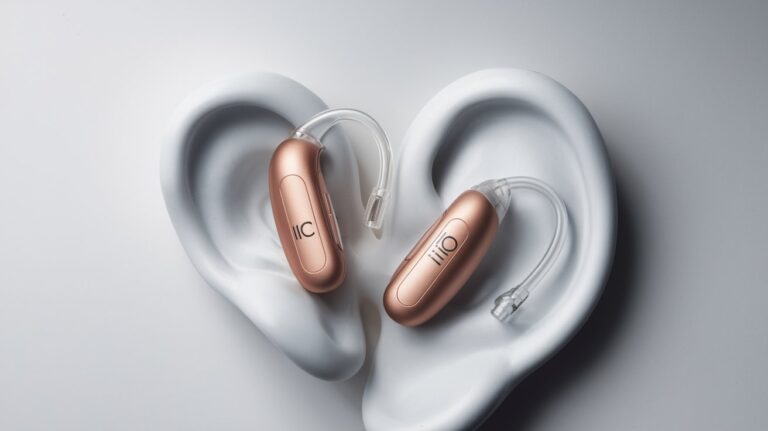
Behind-the-ear hearing aid insertion involves two main components: the hearing aid body and the earmold or dome. This style is popular among 60% of American hearing aid users as of 2025 due to its versatility and ease of handling.
BTE with Earmold Insertion
Place the hearing aid behind your ear first, ensuring the microphone faces forward. Hold the earmold by its edges and insert the narrow tip into your ear canal first, then press the larger portion into your outer ear. The earmold should sit comfortably without gaps that could cause whistling or feedback sounds.
Open Fitting and Dome Insertion
For open-fit hearing aids with dome attachments, insert the dome portion gently into your ear canal while the hearing aid sits behind your ear. The dome should rest approximately 4-6 millimeters inside the canal without touching the eardrum. This design allows natural sound to enter while amplifying specific frequencies.
Proper Depth and Positioning Guidelines
Understanding how far into the ear canal your hearing aid should go prevents discomfort and ensures optimal performance. The correct depth varies by hearing aid type and individual ear anatomy, typically ranging from 2-8 millimeters into the canal.
ITE devices should sit flush with your ear opening, while dome-style hearing aids penetrate deeper into the canal. Custom-molded devices are designed to match your specific ear measurements taken during professional fitting appointments. Never force a hearing aid deeper than feels comfortable, as this can cause pain or injury.
Using Hearing Aid Insertion Tools
Professional hearing aid insertion tools can assist individuals with dexterity challenges or vision impairments. These specialized instruments, available through audiologists or medical supply companies, provide better grip and control during insertion and removal processes.
Common insertion tools include removal handles, magnetic extractors, and grip enhancers. The National Institute on Deafness reports that 28% of hearing aid users over 65 benefit from insertion tool assistance as of 2024. Always use tools recommended by your hearing care professional to avoid device damage.
Troubleshooting Difficult Hearing Aid Insertion
Difficulty inserting hearing aid devices often stems from improper technique, ear wax buildup, or device malfunction. If insertion becomes challenging, remove the hearing aid completely and examine both the device and your ear for obstructions or damage.
Common Insertion Problems and Solutions
Resistance during insertion may indicate ear canal inflammation or excessive wax accumulation. Schedule professional ear cleaning if you experience persistent insertion difficulties. Device feedback or whistling often results from improper sealing between the hearing aid and ear canal, requiring repositioning or professional adjustment.
When to Seek Professional Help
Contact your audiologist if hearing aid insertion causes pain, bleeding, or persistent discomfort. Professional intervention is necessary when devices no longer fit properly due to ear shape changes or when insertion becomes impossible despite following correct techniques. Most hearing aid centers offer complimentary insertion training sessions for new users.
Safe Hearing Aid Removal Techniques
Proper removal protects both your hearing aid and ear health. For ITE devices, grasp the faceplate or removal handle and gently twist while pulling outward. Never pull on wires or tubing, which can damage internal components and require costly repairs.
BTE removal involves disconnecting the earmold or dome first, then removing the main unit from behind your ear. Clean the device immediately after removal to prevent wax buildup and bacterial growth. Store hearing aids in their protective case when not in use.
Professional Fitting vs. Self-Insertion
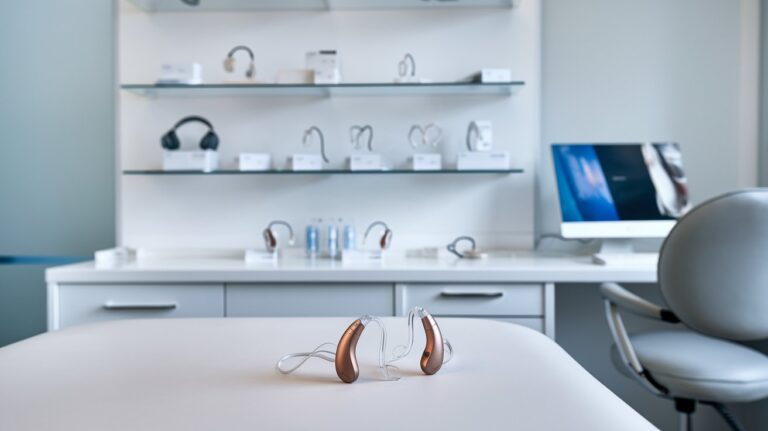
Professional hearing aid fitting appointments typically take 60-90 minutes and include insertion training, device programming, and comfort adjustments. Audiologists use specialized equipment to measure ear canal dimensions and customize device settings for optimal performance.
While daily insertion becomes routine, initial fitting requires professional expertise. The American Academy of Audiology reports that properly fitted hearing aids show 40% better user satisfaction rates compared to self-fitted devices. Follow-up appointments ensure continued proper fit as your ears adapt to regular hearing aid use.
Related video about hearing aid insertion
This video complements the article information with a practical visual demonstration.
Key Questions and Answers
What is the proper way to put a hearing aid in?
The proper way varies by hearing aid type. For ITE devices, pull your ear up and back, then gently insert while rotating slightly until flush. For BTE models, place the main unit behind your ear first, then insert the earmold or dome. Always ensure clean hands and proper device orientation before insertion.
How far into the ear canal should a hearing aid go?
Hearing aid depth depends on the device type. ITE models should sit flush with the ear opening, while dome-style devices typically extend 4-6 millimeters into the canal. Custom-molded devices are designed to match your specific ear measurements. Never force insertion beyond comfortable depth.
How long does a hearing aid fitting take?
Professional hearing aid fitting appointments typically take 60-90 minutes. This includes ear examination, device programming, insertion training, and comfort adjustments. Initial fittings may require multiple appointments to achieve optimal performance and comfort levels for individual users.
What is better, in the ear or behind the ear hearing aid?
Both styles offer advantages. ITE devices are more discreet and easier for those with dexterity issues. BTE models provide more power, longer battery life, and easier maintenance. Choice depends on hearing loss degree, lifestyle needs, and personal preferences. Consult an audiologist for personalized recommendations.
Why won’t my hearing aid go in my ear?
Insertion difficulties often result from ear wax buildup, improper orientation, or device malfunction. Ensure the hearing aid is positioned correctly and your ear canal is clean. If problems persist, contact your audiologist as the device may need adjustment or your ear may require professional cleaning.
Can I damage my hearing aid by inserting it wrong?
Yes, improper insertion can damage hearing aids. Forcing insertion, pulling on wires, or inserting upside down can break internal components. Always follow manufacturer instructions and use gentle pressure. If insertion feels difficult, stop and consult your hearing care professional rather than forcing the device.
| Hearing Aid Type | Insertion Method | Key Benefit |
|---|---|---|
| In-the-Ear (ITE) | Direct canal insertion with rotation | Discrete appearance, secure fit |
| Behind-the-Ear (BTE) | Behind ear placement with earmold | Easy handling, powerful amplification |
| Open Fit/Dome | Shallow canal insertion with dome | Natural sound quality, comfort |
| Custom Molded | Precise anatomical fit | Perfect seal, minimal feedback |