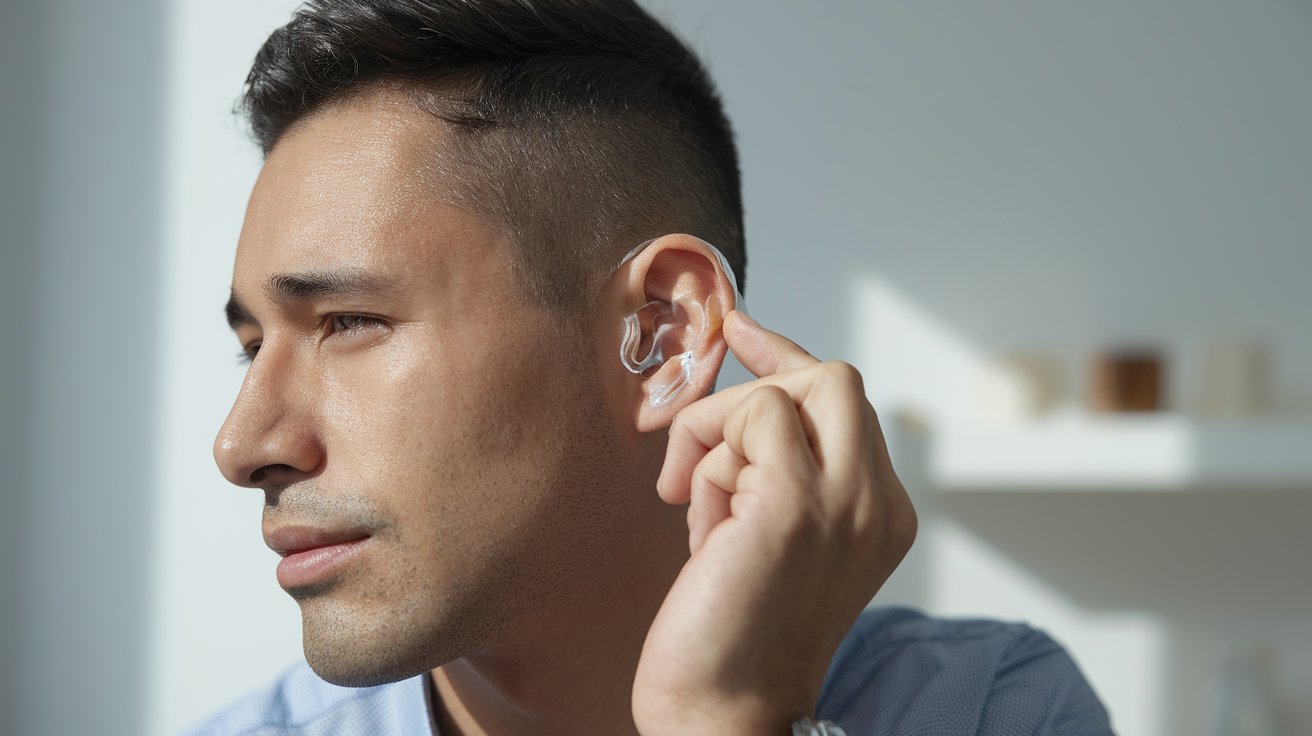
Ear Mold Impression Guide: Complete Process & Costs 2025
An ear mold impression is a precise replica of your ear canal and outer ear, created using specialized silicone materials to ensure custom-fit hearing devices. This essential procedure enables audiologists and hearing specialists to craft perfectly fitted hearing aids, earbuds, or protective ear devices that provide optimal comfort and performance for each individual user.
What Are Ear Mold Impressions
Ear mold impressions are detailed three-dimensional replicas of your ear anatomy, capturing the unique contours of your ear canal and outer ear structure. These impressions serve as the foundation for creating custom hearing devices, including hearing aids, musician’s earpieces, swimming plugs, and noise-canceling earbuds. The process involves injecting a safe, medical-grade silicone material into the ear canal, which hardens within minutes to create an exact negative impression.
The ear impression procedure is completely painless and takes approximately 10-15 minutes per ear. Professional audiologists use specialized otoscopes to examine the ear canal before taking impressions, ensuring no blockages or infections are present. The resulting impression captures critical details including the ear canal diameter, length, and any unique anatomical features that affect device fit and comfort.
Professional Ear Impression Procedure
The professional ear impression procedure begins with a thorough examination of your ears using an otoscope to check for wax buildup, infections, or perforated eardrums. Your audiologist will then insert a protective foam or cotton dam into your ear canal to prevent the impression material from going too deep. This safety measure is crucial for protecting your eardrum during the process.
Next, the specialist prepares the ear impression material, typically a two-component silicone mixture that begins setting within 30-60 seconds. Using a specialized syringe or injection gun, they carefully fill your ear canal with the material, ensuring complete coverage of all surfaces. The silicone hardens completely within 3-5 minutes, after which the audiologist gently removes the impression using a twisting motion.
Pre-Procedure Preparation
Before your ear mold impression appointment, avoid using cotton swabs or ear cleaning products for at least 24 hours, as these can irritate the ear canal. If you wear hearing aids, remove them at least 30 minutes before the appointment to allow your ears to return to their natural shape. Your audiologist will provide specific instructions based on your individual needs and any existing ear conditions.
During the Impression Process
Throughout the ear impression procedure, you’ll be seated comfortably while the audiologist works. You may experience a slight pressure sensation as the silicone material fills your ear canal, but the process should never be painful. Communication with your specialist is important during this time – inform them immediately if you experience any discomfort, dizziness, or unusual sensations during the procedure.
DIY Ear Mold Impression Kits
Custom ear mold impression kits have gained popularity as an affordable alternative to professional services, with products like the EZ Ear impression kit and various silicone ear mold kits available for home use. These kits typically include pre-measured silicone components, mixing tools, protective barriers, and detailed instructions for creating impressions at home.
While DIY ear mold impression kits offer convenience and cost savings, they require careful attention to safety protocols and proper technique. Most quality kits include two-part silicone systems that mix to a putty-like consistency, allowing users to create impressions without the mess of liquid materials. Popular brands include Radians, Etymotic, and various audiologist-approved kits available through online retailers.
Selecting the Right DIY Kit
When choosing a silicone ear mold kit, look for FDA-approved materials, clear instructions, and protective components like ear canal dams. Quality kits should include enough material for multiple attempts, as first-time users often need practice to achieve professional-quality results. Read reviews and consider kits that offer customer support or instructional videos for guidance.
Safety Considerations for DIY Impressions
Using a custom ear mold impression kit requires strict adherence to safety guidelines, including proper ear canal examination before beginning and using protective barriers to prevent material from going too deep. Never attempt DIY impressions if you have ear infections, perforated eardrums, or excessive wax buildup. Consider professional services for complex ear anatomies or if you experience any complications.
Ear Impression Materials and Technology
Modern ear impression materials have evolved significantly, with medical-grade silicones offering superior accuracy and safety compared to older materials. Two-component addition silicones are the current industry standard, providing excellent detail reproduction, dimensional stability, and biocompatibility. These materials capture fine details down to 0.1mm, ensuring precise reproduction of ear canal anatomy.
Advanced ear impression material formulations now include antimicrobial additives, improved tear strength, and faster setting times without compromising accuracy. Some materials feature color-changing properties that indicate complete curing, while others offer extended working times for complex cases. Temperature-stable formulations maintain accuracy even when shipped across different climates.
Cost Analysis: Ear Impressions in 2025
Professional ear mold impression costs in the United States typically range from $75-150 per pair when performed by licensed audiologists or hearing specialists. Factors affecting pricing include geographic location, facility type, and whether impressions are part of a larger hearing aid fitting service. Major metropolitan areas like New York, Los Angeles, and Chicago generally command higher prices, while rural areas may offer more competitive rates.
Insurance coverage for ear impressions varies significantly, with some plans covering the procedure when medically necessary for hearing aid fittings. Medicare Part B may cover ear impressions when prescribed by physicians for documented hearing loss. Private insurance plans increasingly recognize the medical necessity of custom ear devices, leading to improved coverage options in 2024-2025.
Professional vs DIY Cost Comparison
DIY ear mold impression kits typically cost $25-75, offering significant savings over professional services. However, factor in potential remake costs if initial attempts fail, plus the value of professional expertise in complex cases. For multiple family members or frequent replacements, DIY kits provide excellent value, while one-time users may find professional services more cost-effective.
Hidden Costs and Additional Fees
When budgeting for ear mold impressions, consider additional costs such as shipping fees for mail-in services, remake charges for unsatisfactory impressions, and potential consultation fees. Some providers offer package deals including impressions, device manufacturing, and fitting services. Always request detailed cost breakdowns before proceeding with any ear impression service.
Finding Ear Impressions Near You
Locating quality ear impressions near me requires research into local audiology clinics, hearing aid dispensaries, and specialized ear care centers. Many Costco, Sam’s Club, and CVS locations now offer professional ear impression services at competitive rates. University audiology programs often provide discounted services performed by supervised students, offering professional quality at reduced costs.
Online directories help locate ear mold impression near me providers, with resources like the American Academy of Audiology’s provider locator and hearing aid manufacturer referral networks. Mobile audiology services have expanded in 2024-2025, bringing professional ear impression capabilities directly to homes, offices, and assisted living facilities across many U.S. markets.
Applications and Uses for Ear Impressions
Ear mold impressions serve diverse applications beyond traditional hearing aids, including custom earbuds for musicians, swimmers’ ear plugs, noise-canceling devices for industrial workers, and communication earpieces for law enforcement and security professionals. The growing popularity of custom audio devices has expanded the market significantly, with consumer electronics companies now offering premium custom-fit earbuds based on ear impressions.
Medical applications include surgical planning for ear reconstructions, sleep apnea device fittings, and specialized hearing protection for military and aviation personnel. Research institutions use ear impressions for studying human ear anatomy variations and developing improved hearing technologies. The expanding applications continue driving innovation in impression materials and techniques throughout 2024-2025.
Related video about ear mold impression
This video complements the article information with a practical visual demonstration.
FAQ – Common Questions
What are ear mold impressions used for?
Ear mold impressions create custom-fit hearing aids, earbuds, ear plugs, and protective devices. They capture your unique ear anatomy to ensure perfect fit, comfort, and optimal performance. Common uses include hearing aids, musician’s earpieces, swimming plugs, noise-canceling devices, and communication equipment for professionals.
How much do ear impressions cost in 2025?
Professional ear impressions cost $75-150 per pair in the United States, varying by location and provider. DIY ear mold impression kits cost $25-75, offering significant savings. Insurance may cover professional impressions when medically necessary. Major metropolitan areas typically charge higher rates than rural locations.
How long does the ear impression procedure take?
The complete ear impression procedure takes 10-15 minutes per ear, including examination, preparation, and impression removal. The actual silicone setting time is 3-5 minutes per ear. Professional appointments typically last 30-45 minutes total, including consultation time and quality checks of the finished impressions.
Are DIY ear impression kits safe to use?
DIY ear impression kits are generally safe when used correctly with proper safety precautions. Always use protective barriers, examine ears for infections or blockages first, and follow instructions carefully. Avoid DIY kits if you have perforated eardrums, ear infections, or complex ear anatomy. Professional services are recommended for medical applications.
What does an ear mold look like when finished?
Finished ear molds appear as detailed, three-dimensional replicas of your ear canal and outer ear structure. They’re typically made from pink or clear silicone material, showing precise contours including canal curves, anatomical landmarks, and surface textures. Professional impressions capture fine details down to 0.1mm accuracy.
How do I prepare for an ear impression appointment?
Prepare by avoiding cotton swabs or ear cleaning for 24 hours before your appointment. Remove hearing aids 30 minutes prior to allow ears to return to natural shape. Inform your provider about any ear problems, medications, or allergies. Arrive with clean ears but avoid over-cleaning that might cause irritation.
| Service Type | Cost Range | Key Benefits |
|---|---|---|
| Professional Impressions | $75-150 per pair | Expert technique, safety assurance, insurance coverage |
| DIY Impression Kits | $25-75 per kit | Cost savings, convenience, multiple attempts included |
| Mobile Services | $100-200 per pair | Home/office convenience, professional quality, flexible scheduling |